Checks
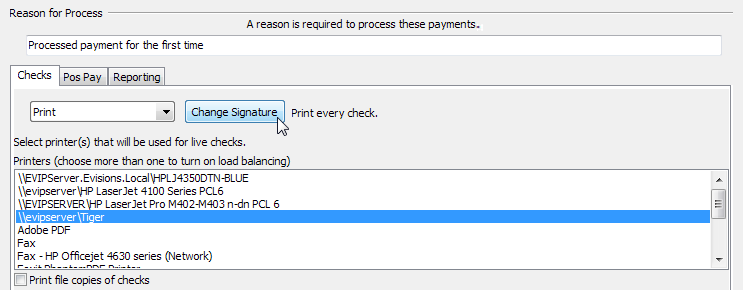
The Checks tab will be visible when checks are ready for processing.
new.png)
The drop-down contains two options for check processing:
- No Processing – Process file copies only.
- Print – Print checks.
If your institution's check files are configured to have more than one signature layout, your administrator may have given you permission to change which signature(s) print on the checks for this batch. If you have access to this button, it will appear to the right of the Print/No Processing dropdown.
Clicking the Change Signature button brings up a dialog where you can choose which macro to use for the check run.
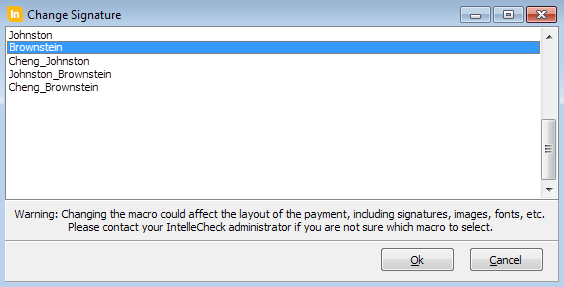
Important Note: Your check macros may be configured with other types of changes in addition to different signatures. You should ensure that you know which macros to select for the desired signatures. The list will show all macros that match the account type of the batch (AP or Payroll). Contact your IntelleCheck administrator if you have any questions regarding the different macros.
When printing, select the printer(s) to be used. Depending on the setup, the list will contain printers connected to the local computer, printers configured in MAPS, or a combination of the two. If more than one printer is selected, IntelleCheck will perform load balancing by sending a portion of the job to each printer.
File copies can be printed and/or made into PDF documents. To make hard copies, select the Print file copies of checks check box, and choose the appropriate printer(s).
To save files to a directory, select the Create PDF of file copies check box at the bottom of the screen. Choose the Individual File option to create one PDF file for each payment or the Single File option to create one PDF file for the entire batch.
To add additional security for the PDF files, select the Password Protect check box. You will be prompted to enter a password when the payments are processed, and this password will be required to open the PDF files.